Since appearing on Create & Craft over the weekend 22nd-24th June, many people have been requesting the instructions for the cracker gift box again.
I am pleased to upload it for you now! The instructions will also appear on the Kanban blog and Facebook Page.
Keep an eye on my blog right here though......as I have now designed a new version and also made an alternate version of the original. These will be uploaded very soon, so watch this space!!!

Step One:
Choose the cardstock of your choice for the cracker.
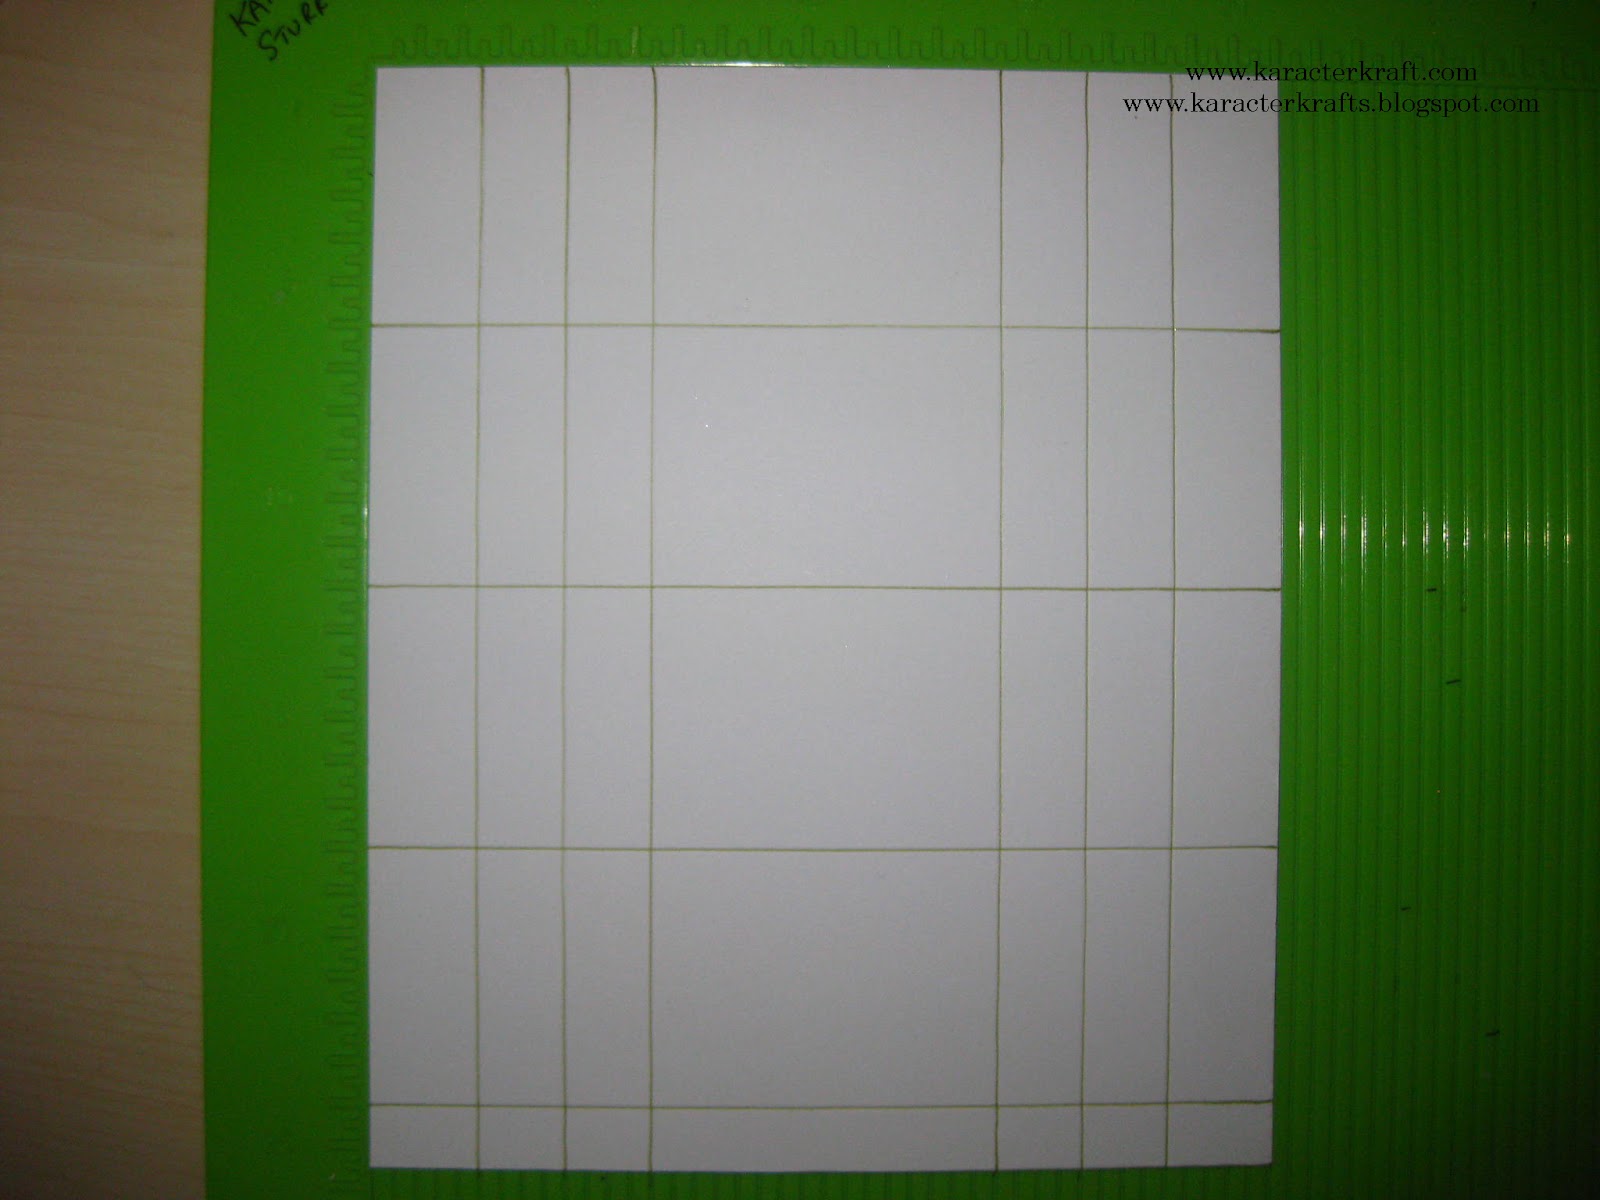
You need to mark and score with first lines with the card landscape way on as shown above.
A Hougie board is perfect for this project, but if you don't have one, then a ruler and pencil to mark is fine and then score using any scoring board between the marks made. I have used a pen on my instructions, so that you can see the score lines clearly.
You need to score at measurements 6cm, 12 cm, 18 cm, 24 cm and 25.5 cms
use the 25.5 cm mark as a guide for cutting off the excess card. I have shown the section to be removed on the photo. This will leave a 1.5 cm tab at one end.
Step Two:
Now turn the cardstock so that it is portrait way on.
This time you need to score lines at measurements of 2.5 cm, 4.5 cm, 6.5 cm, 14.5 cm, 16.5 cm & 18.5 cm

Step Three:
If you have a border punch, you can now punch along both longer edges of the cardstock.
If you don't have a punch, you can decorate the edges with peel offs, or adhesive borders once the cracker has been put together.

Step Four:
Using a scoring tool, now crease all scored lines sharply, across one set of scorelines.

Step Five:
Turn the card around and score the other set of scorelines.

Step Six:
Put your cardstock landscape way on again ready to mark your next guidelines.
You need to mark 2cm away from each scoreline, top and bottom and also 2cm from the end of the cardstock, without the tab

Step Seven:
Using the other scorelines as as a cutting guide. Cut diamond shapes from the cardstock as shown above.
Mind your fingers with the craft knife!
It is best to use a steel edged ruler with your knife as it will help protect your fingers.

Step Eight:
Take note of how the cutouts have been made at the tab end of the cardstock. It is important
to get this right.

Step Nine:
Now you are ready to start putting the cracker together.
On the patterned side of the cardstock, put some strong double sided tape on the tabbed end of the card (including the small tabs where the punched edges are)

Step Ten:
Now stick the tabs under the other end of the cracker to begin forming its shape as shown above.

Step Eleven:
Push the ends of the cracker in so that the score lines form the 'pinched' ends of the cracker.

Step Twelve:
Now tie ribbon, cord or raffia of your choice around the pinched ends of the cracker.
(Don't forget to add a gift or chocolates etc before tying both ends!)

Step Thirteen:
Finally, trim the cracker with flowers, snowflakes or whatever you like to make it look pretty!


